Here is a look at the skycamp on my personal trailer setup (my most recent build, not the m416 on this blog)
Happy overlanding and trailer building!


 Its completely finished and I couldn't be happier with the way it turned out! Everything works great and it pulls perfectly. I'll update the blog after I take it offroading to see how it performs.


 I bought a 2009 Wrangler Unlimited Rubicon. I'm selling my 2000 TJ to pay for upgrades to this new jeep. The jeep towes the trailer perfectly with the extra towing capacity Jeep added to the JK.
 We loaded our bikes up today to bring them to the bike shop and to give the bike-trailer combo a test run before our Moab trip in June. The bikes were rock solid when driving. The lid opens under its own power even with the extra bike weight.

 I opted for cable type safety chains rather than linked metal chain that will bounce around on the trail making annoying clinks. These recoil nicely to prevent dragging. I bolted them to the stock 3/4" bolt that passes through the tounge.


 I added a 1" square tube cross member ahead of time when I built the lid so that I could mount the bike mount after painting. Here's a look under the lid where the mount bolts come through.
 To help keep water out when driving in the rain, I've added weather stripping around the lid where it meets the tub lip. In addition to the adhesive backing on the weather stripping, I applied a bead of Gorilla Glue and closed the lid tight over night. The result seems like it will hold well. Here is what the weather stip looks like from the outside:

 Spring finally has come to the Rockies and it was warm enough this weekend to paint. The wind was too strong, so I tented the garage with plastic drop clothes, switched off the circuit breaker to the garage, and ran an extension cord into the house to run the compressor and a fan. I just left the garage door open and with a respirator, it worked no problems. I didn't have any lights set up so it was a little tough to see what I was doing so I missed a few spots. I'll have to go back and touch them up. Now its time for finally assembly and then wiring and lights, gas struts for the lid, and bike rack attachments. The end is in sight! I hope to finish soon since we have a trip to Moab planned in a few weeks.
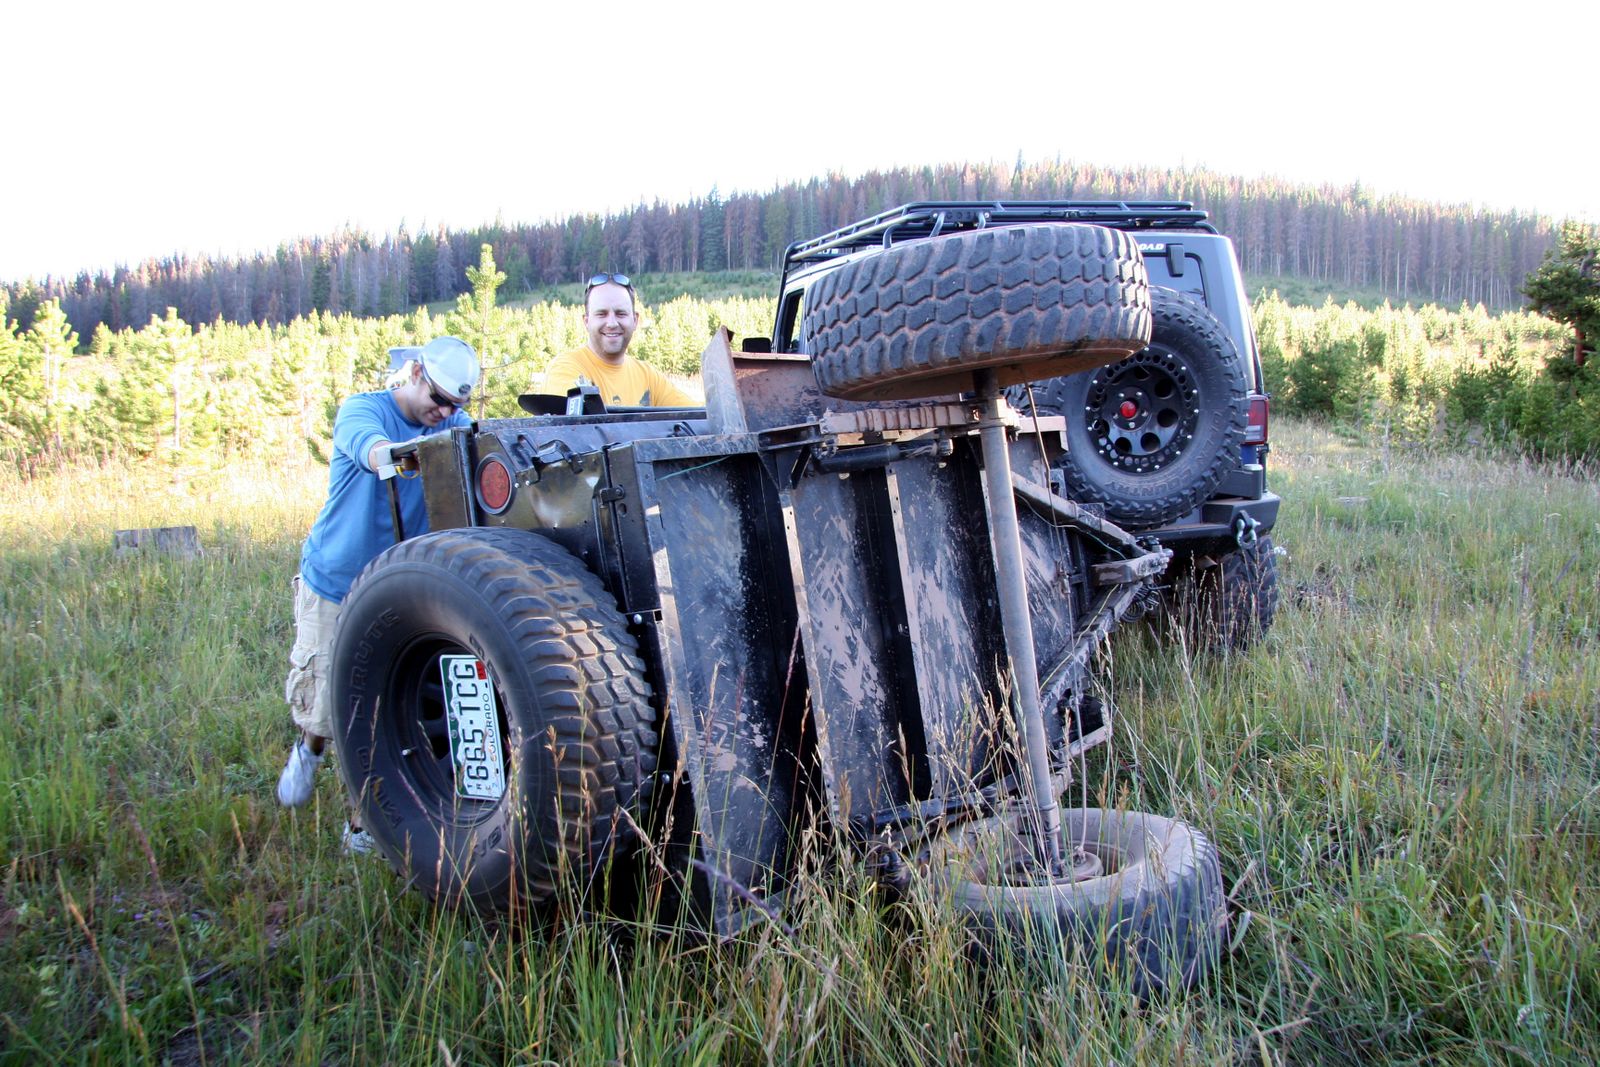
 When I did the spring over lift on the trailer it really made it tall. The lunette is about 30" off the ground. When I get my Jeep Unlimited (4-door) with a 4" lift and 37" tires, it should sit level. For now, with my 2.5" lift and 33" tires, the trailer has to really lean down. I've seen the adjustable ball hitches that all those huge lifted pickup trucks have, so I thought why not make something like that for the pintle. I started with a 12" receiver hitch tube from harbor freight which was on sale for $6.99 and grinded the paint off and cut it down to size.
 Using 2" square tube I measured out enough length to clear the spare tire.

 This weekend I filled in some of the small pinholes and pitted surfaces left by my poor welding skills on the top of the lid. The two sheets of 22 gauge metal were pretty tough to get a nice welded seam. So, rather than battling with spot welding hundreds of spots, I decided to fill it in with body filler.
 As I mentioned in a previous post, I found this company International Gas Springs on the internet. You fax them in the specifics of your project and they plug it into their computer program to figure out the correct strength, stroke, and mounting position of the gas springs for your lid. I'm not sure yet how I'll mount the springs since they have only a 1/2" long threaded stud on the end of the metal ball joints. They are pricey too! $215 with shipping. So, don't forget to budget that into your project.
 Today it was warm and sunny enough to tackle bedlining the inside of the trailer tub. I picked up a duplicolor bedliner kit at Advance Auto Parts on sale for $46. I wiped down the inside with a scuff pad and solvent based cleaner first. Then I put two coats of goop on with the special brush.
 After skinning the lid, I added a trail rack using 3/4" square tube. I went with 3/4" to reduce weight and make it easier to strap things to since most straps have a hook on the end that won't fit over 1"square tube. This is just extra storage in case I run out of room inside the tub on an extended trip. I purchased some "Clutch" fork mounts from Rocky Mounts to hold a couple bikes and bolt those to the lid.


 As seen from the inside picture, the light is pretty well tucked above the angled part of the tub, so I don't think it will interfere with packing gear. The light does have a small rectangular part that sticks out the back.
 I ordered a nice hole saw set on ebay which made quick work of cutting the perfectly round holes for my LED marker lights. I wasn't too concerned about weakening the frame since mine has 1/4" thick plate of steel welded over the whole thing which increases its rigidity. After the hole was cut I popped in the light for a test fit. Works great.
 Above is a photo of the lid after I welded 22 gauge flat plate steel to the frame. This was a HUGE pain. I don't know if my welding skills are that bad (probably) or if I am missing a more obvious way to attach it and make a water tight seal.... The welder was on its lowest setting, but not burning holes in the thin metal was near impossible, as was getting a nice bead. Anyway, I finally finished after draining an entire 10lb tank of gas and then I grinded down my bumpy mess. This has left a pretty rounded edge, but I think its good enough. Here's a close up of some edges...
  Here's a view of the underside. I tacked the skin to the frame on every cross member every 4 inches or so. I've heard drumming can be a problem on the highway, so hopefully not having more than 2.5ft x 2ft spans will keep noise to a minimum.
 Here's a look at the lid in operation. I found a company called International Gas Springs who build custom struts. You fill out a worksheet with dimensions and desired operation and they make the size and strength you need to open the lid, keep it open, and close it easily. We'll see how that goes, hope they aren't too expensive. Here is another option at McMaster Carr